Hello, Local Milk readers! My name is Melissa, and I am a homemaker and artist living in Texas. I am currently practicing watercolors, quilting, and photography. I believe in pursuing a mindful, slower-paced life, and I am always seeking out simple, sustainable practices for our home.
Today I want to talk about the value of cultivating a creative practice in your life. What comes to mind when you think of having a creative practice? A fine artist gracefully putting oils to canvas? A writer sitting at their typewriter working on their next bestseller? Do you wonder if you can have a creative practice if you don’t identify as an artist? If any of these questions sound familiar, I invite you to share a piping hot cup of tea with me and chat about why cultivating a creative ritual or practice is so essential for our daily lives.
Creative Exploration Helps You Be More Present
Carving out time for a daily practice creates space for you to be present. It allows you the opportunity to set aside day-to-day stress and commitments in a protected space so that you can simply explore and rest. It has become an essential part of my day, and I find I always feel more grounded and calm afterward.
Setting aside this time can look different for everyone, but I encourage you to try it, tweak it, and play with it. Maybe it’s daily, or weekly, or once a month with girlfriends! Having a regular practice or ritual sounds daunting, but it doesn’t have to be. I encourage you to press forward because it will be worth it. I have found watercolors to be a wonderful ritual for me, but your creative practice can be anything that speaks to you.
Healthy Habits to Adopt for Cultivating Your Creative Practice
Over the years of trying new methods, I’ve found a few tried and true tricks that encourage me to stick with my creative practice. I would love to share them with you.
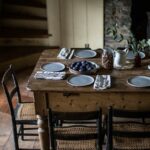
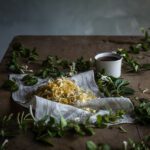
- Find a spot that you can set aside for your practice. This could be your desk, dining table, even your bed. Just choose a place you feel comfortable. I like for my space to be tidy, inviting, and for my materials to be easily accessible. I’ve found that if I have to gather my tools together, I can quickly talk myself out of creating. I keep my tools in clearly marked boxes so that all I have to do is pull out the box and start. I often will make myself a cup of matcha, light a candle, and take a few breaths first. If you have the time, free writing for a few minutes can also help clear your mind before beginning your practice.
- Keep your technology away from you. This one is tough, I know! But I promise you, the experience isn’t the same when you’re constantly interrupted by your notifications. I usually try and set it in a different room, or at least put it on the opposite side of the room from where I am set up. If you like to listen to music, choose a playlist or an album that you select when you begin, so you won’t be tempted to interrupt the process!
- Give yourself grace and stay flexible. I still struggle with this, but I’ve learned that if I hold myself to an unreasonable goal or expectation, I won’t be able to explore and create freely. For example, I found that if I go into it thinking, “I have to create a beautiful piece of art,” or, “I haven’t been able to do this the last few days, I must be failing at this already,” it immediately squashes my ability to release and just play.
Cultivating a regular creative practice is just that — practice!
You have to nurture it, tinker with how it fits into your life, and prioritize it. Don’t be scared when you start feeling the familiar pushback that pops up when trying something new. You’ve got this! With this in mind, I want to share some of my recommendations on how to begin a painting practice. Let’s jump in!
Why Watercolors?
Watercolors are such a great medium to explore creating without an agenda. You only need a few things to start, and there are no boundaries to where you can take it. I truly encourage you to view it as PLAY. Tap into your inner child and make marks, write, play with colors, play with textures, layering. The possibilities are endless, and it is intensely personal to the creator who laid brush to paper. I often find that I will pick up the brush feeling stressed and unable to stop thinking about what needs to happen next in my day, but if I can try and release that and just simply practice, I end up feeling lighter, and present.
Essential Supplies to Get You Started
Paint – I love using Case For Making watercolors. They are intensely pigmented, hand-mixed, and the colors feel special. I encourage you to pick out a handful of colors that you naturally love and gravitate towards. Keep in mind what colors you love to surround yourself with, what colors make you happy, or colors that remind you of a good memory and play with those! I like to add a white and black as well. Some of my favorites from Case For Making are Pink Pipestone, Blue Ridge Violet Hematite, Indigo, Burnt Umber Dark, Ivory Black, and Kremer White. I also love Sennelier watercolors, which are sold in tubes and are offered in a wider selection of beautiful colors.
Paper – Generally, for watercolors, you want your paper to be thick so that it can withstand the wet paint being layered onto it without curling. Any watercolor paper works, but I like the Strathmore brand, which you can find online or at your local art supply store. You can get a pad or a sketchbook, but I recommend staying small for this practice. I have found that when I sit down to a large, blank piece of blank paper, it can feel intimidating to look at! You might feel like you have to fill it all with a stunning work of art! Sticking with something smaller is much more approachable and fun to sketch on. I personally love using Arches watercolor blocks because they are small, individual sheets, and the texture of the cold-pressed paper is lovely.
Brushes & Drawing Tools – I like to have one small and one larger round brush. Sizes 2, 6, and 8 are my favorite, and I use these Case for Making brushes. Keep a clean, old rag or paper towels close by to wipe off your brush. I use these Micron pens and Palamino pencils for illustrating and stenciling out my watercolor paintings.
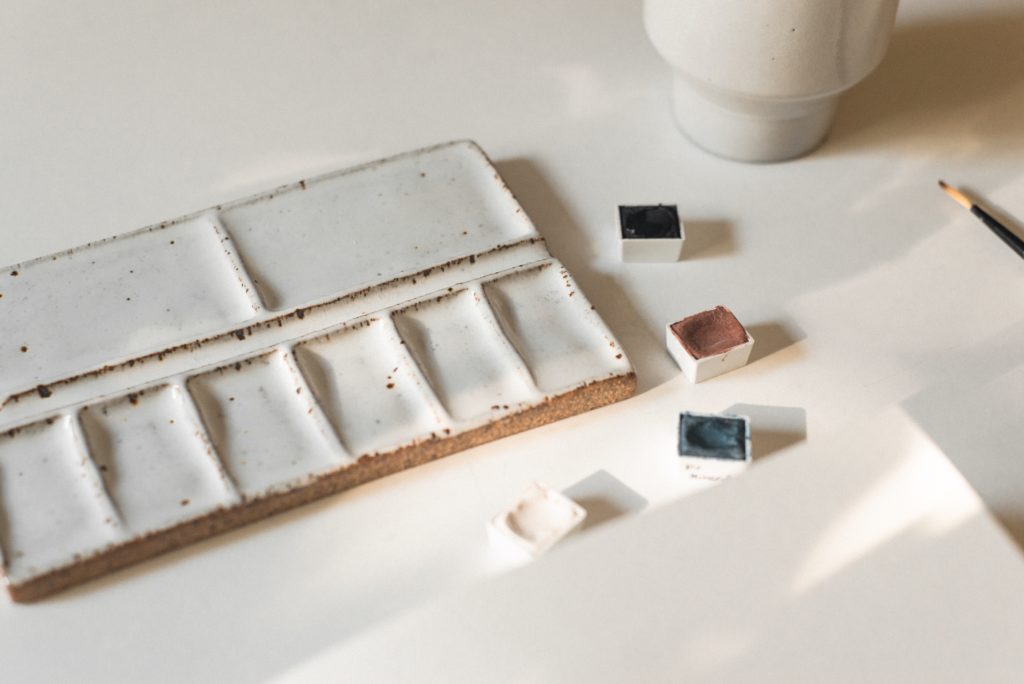
Cup & Palette – Feel free to use any cup, mug, or bowl for holding water, but use one that you won’t drink or eat out of for safety purposes. I have been known to use chipped cups or bowls, or thrift store finds! You can use any flat surface for a palette. I prefer ceramic or glass so that it can be wiped off easily. I have used many a chipped or thrifted plate for palettes, but you can also purchase handmade mixing palettes if you prefer. Mine is an old design, but Case for Making sells beautiful palettes, as well as Sugar House Ceramic Co.
It’s time to start creating!
There is no wrong way to approach creating, and there are endless variations to try. Sometimes I like to jam out to music and mark the pages randomly, other times I pick a single color to work with. Some ideas you can play with are painting a particular object, doing a blind contour drawing, creating broad washes of color, and adding in other mediums like markers, pens, colored pencils, pastels. As I said earlier, the options are endless!
There are multiple ways to apply color to a page, which I’ll walk you through. First, wet the tip of your brush and dip your brush into the color you’d like to use. You can either apply this straight onto the dry page for the most pigmented color or put it on your palette to dilute with water or mix with other colors. When using multiple colors, add each color to the palette first, washing your brush between each color. Then start mixing using the palette so that the colors in the watercolor pans stay pure.
Remember, the wetter your brush is, the less opaque your color will be! You can add water at any time, or even take extra water and color away by lightly pressing the wet paint with a dry cloth. Alternatively, you can wash the blank page with water, and add pigment to the water for a washed, organic look. Play with adding and mixing color on the page, or wait for the first layer of paint to dry if you don’t want the color to mix. Have fun with it, and enjoy cultivating the creative practice!
Melissa is a homemaker and artist living in Texas. She is currently practicing watercolors, quilting, and photography. You can find Melissa on her Instagram, @theslowerhome.
My name is Beth, Elizabeth Evelyn to be exact. A native Tennessean, I was born in the South.
I am the author behind Local Milk Blog.